RStudio
lintr lints are automatically displayed in the RStudio Markers pane (RStudio versions > v0.99.206).

In order to show the “Markers” pane in RStudio: Menu “Tools” -> “Global Options…”, a window with title “Options” will pop up. In that window: click “Code” on the left; click “Diagnostics” tab; check “Show diagnostics for R”.
To lint a source file test.R type in the Console
lintr::lint("test.R") and look at the result in the
“Markers” pane.
This package also includes two addins for linting the current source and package. To bind the addin to a keyboard shortcut navigate to Tools > addins > Browse Addins > Keyboard Shortcuts. It’s recommended to use Alt+Shift+L for linting the current source lint and Ctrl+Shift+Alt+L to code the package. These are easy to remember as you are Alt+Shift+L(int) ;)
Emacs
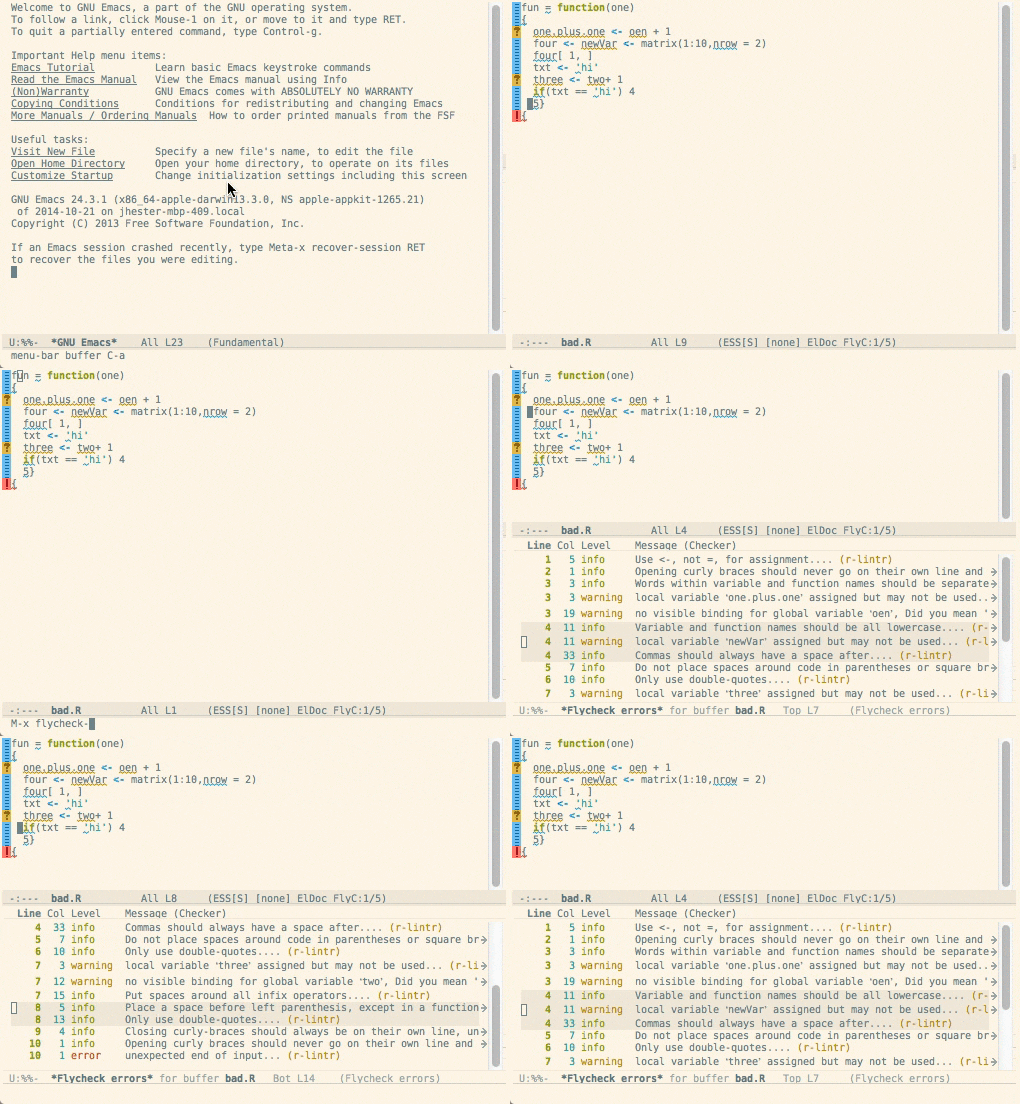
lintr has built-in
integration with flycheck versions
greater than 0.23. 
Installation
lintr is fully integrated into flycheck when using ESS. See the installation documentation for those packages for more information.
Vim - syntastic
lintr can be integrated with syntastic for on-the-fly linting.

Installation
Put the file syntastic/lintr.vim
in syntastic/syntax_checkers/r. If you are using pathogen this directory
is ~/.vim/bundles/syntastic/syntax_checkers/r.
You will also need to add the following lines to your
.vimrc.
let g:syntastic_enable_r_lintr_checker = 1
let g:syntastic_r_checkers = ['lintr']Vim - ALE
lintr can be integrated with ALE for on the fly linting.
Configuration
You can configure what linters are used, e.g. using a different line length cutoff.
let g:ale_r_lintr_options = "linters_with_defaults(line_length_linter(120))"You can also configure whether lint or
lint_package is used. Set to 1 for
lint_package and 0 (default) for lint.
let g:ale_r_lintr_lint_package = 1See :h ale_r_lintr for more information.
Note that configuration through .lintr files are not
supported.
There is a work around that can be used to read the contents of a
.lintr file in the root of the working directory. This
would allow the use of configuration through .lintr
files.
if filereadable(".lintr")
  let g:ale_r_lintr_options = join(readfile('.lintr'))
endif
Sublime Text 3
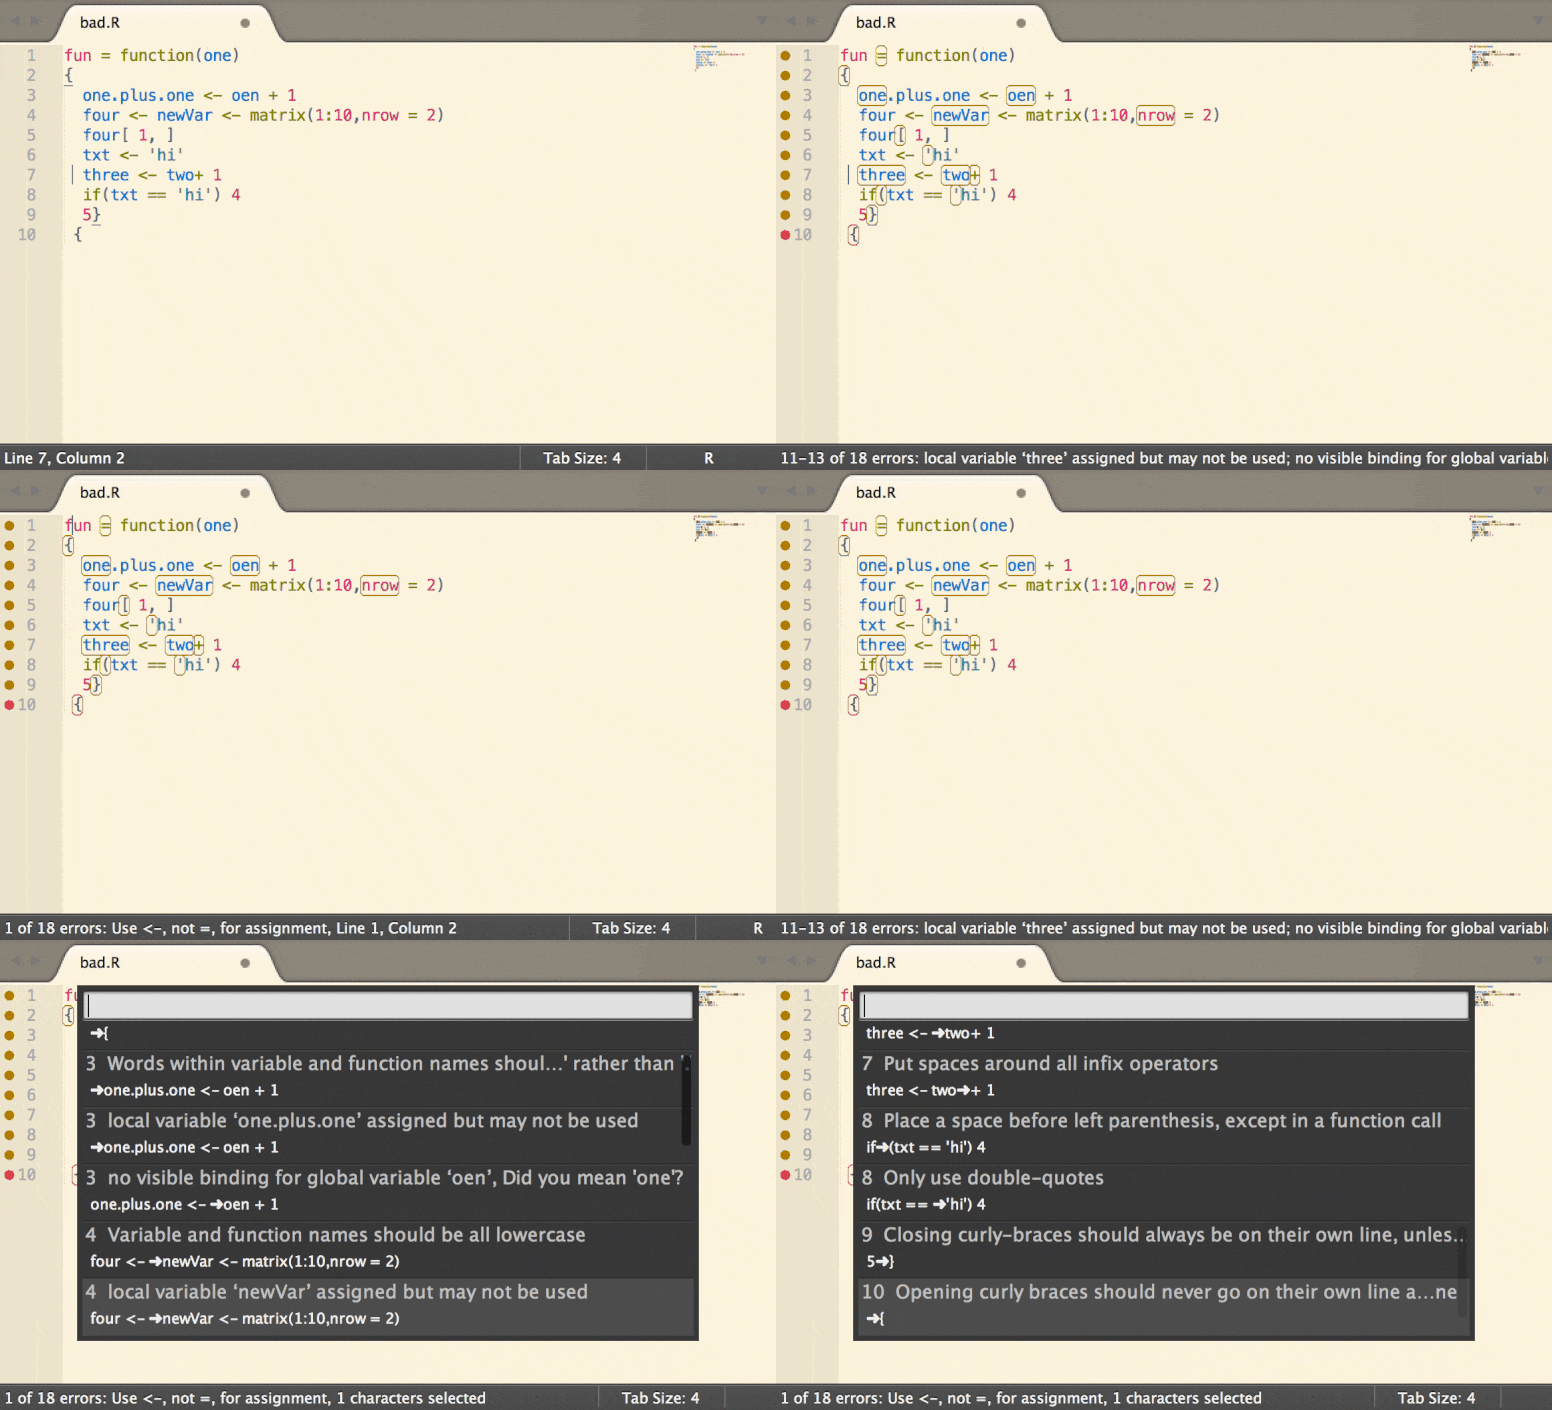
lintr can be integrated with Sublime Linter for on-the-fly linting.

Installation
Simply install sublimeLinter-contrib-lintr using Package Control.
For more information see Sublime Linter Docs
Atom
lintr can be integrated with Linter for on the fly linting.

Installation
Simply install linter-lintr from within Atom or on the
command line with:
For more information and bug reports see Atom linter-lintr.
Visual Studio Code
In Visual Studio Code, vscode-R presents the lintr diagnostics from languageserver.

